西安空调销售网站建设购买设备有什么网站做参考
最近很多人反映自己的电脑一开机就直接进入bios里,无法正常进入系统。这是怎么回事呢?开机进入bios无法进入系统怎么办呢?别着急,今天就为大家带来电脑开机就进入bios的解决方法。
电脑开机就进入bios的解决方法:
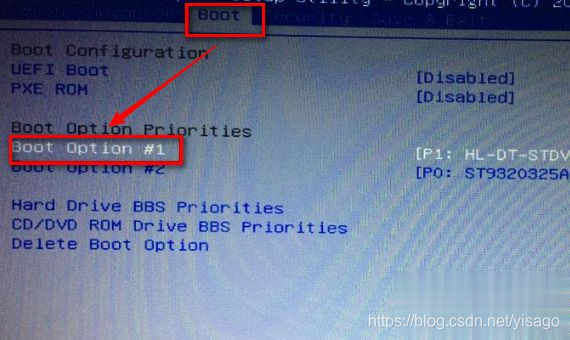
1、如果是电脑的硬盘出了故障,导致电脑无法识别。则电脑会自动进入bios里,进入之后首先选择boot菜单,再选择boot option#1后按回车。如果硬盘正常,会显示出一串数字,如果没有显示说明磁盘有问题,那么就只需要更换磁盘就可以了。
2、如果是bios错误导致无法识别硬盘,在Main主界面中按f9出现提示并按回车键,最后按F10保存退出进行尝试,

3、假如是系统文件被更改,导致电脑无法启动。则需要在BIOS界面,可以通过方向键进入“Security”菜单,然后通过方向键选择“Secure Boot Control”选项进入;

4、在完成第三步的操作之后,在进入的界面中将Secure Boot Control选项设定为 “Disabled”即可。

好了,以上就是关于开机进入bios无法进入系统怎么办的全部内容了,希望对你有帮助。