建工行业建设标准网站网站模板代码
文章目录
- 📑前言
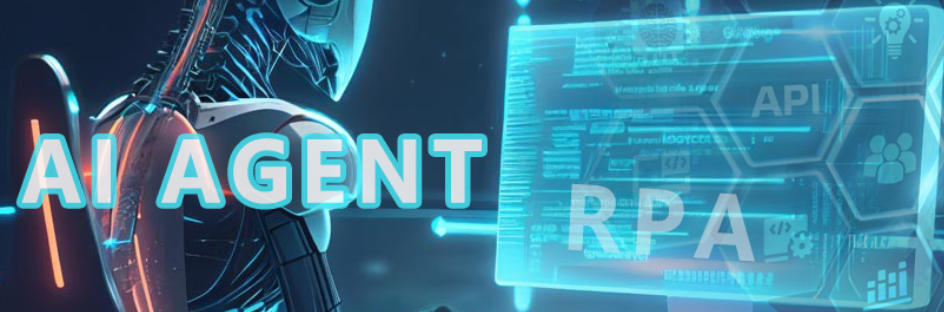
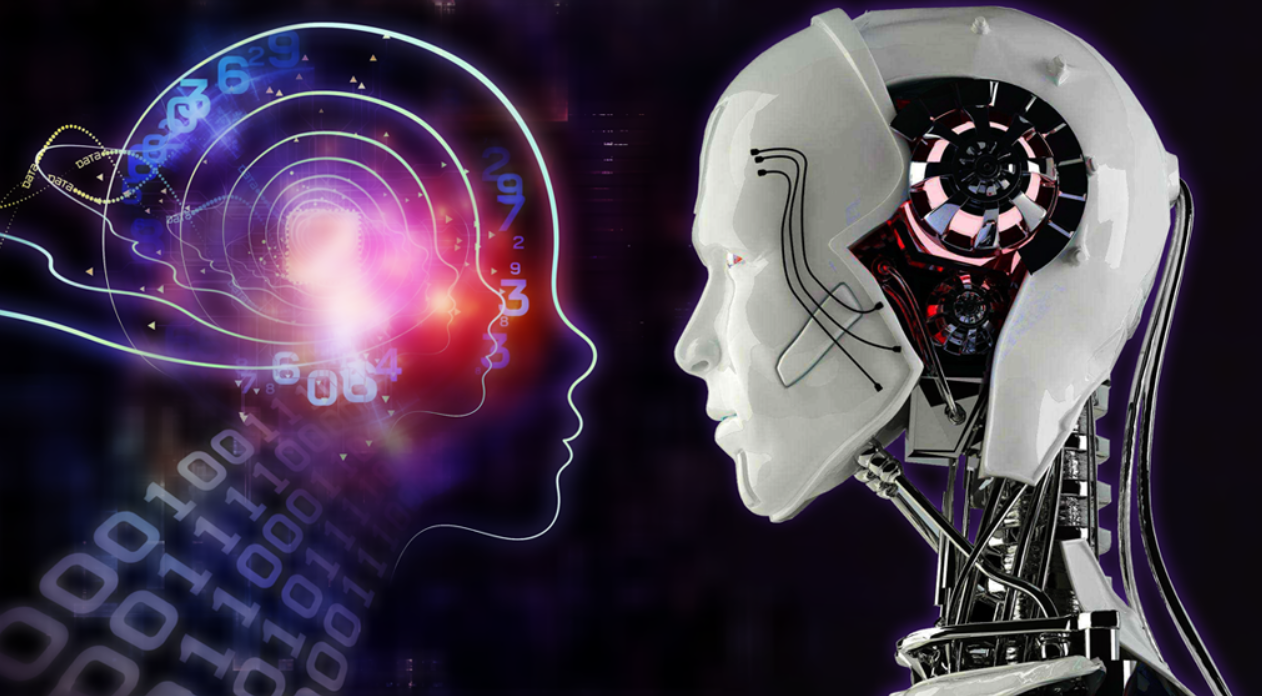
- 一、Agent AI智能体的基本概念
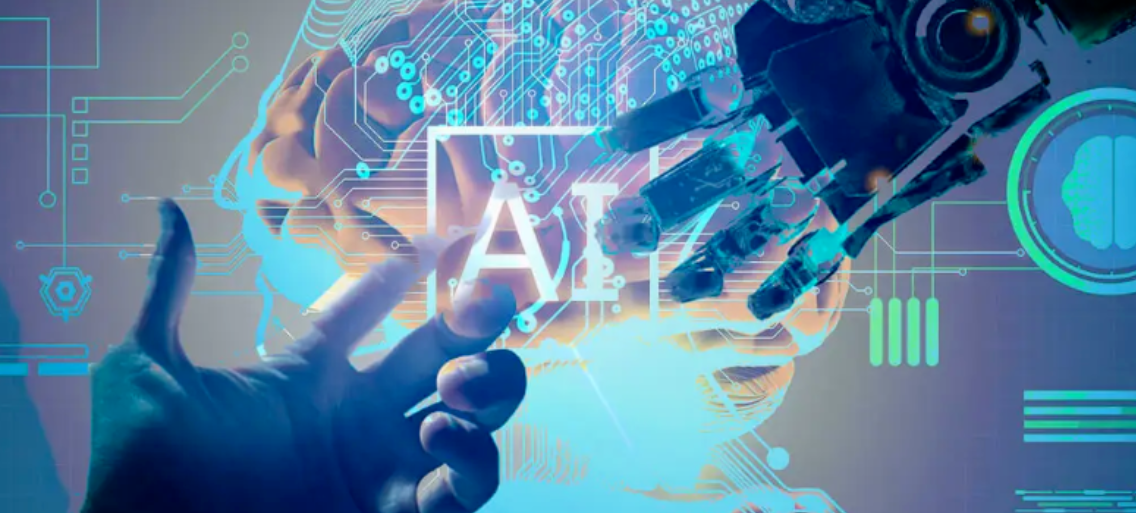
- 二、Agent AI智能体的技术进步
- 2.1 机器学习技术
- 2.2 自适应技术
- 2.3 分布式计算与云计算
- 三、Agent AI智能体的知识积累
- 3.1 知识图谱
- 3.2 迁移学习
- 四、Agent AI智能体的挑战与机遇
- 4.1 挑战
- 4.2 机遇
- 小结
📑前言
随着科技的飞
速发展,人工智能(AI)已经逐渐渗透到我们生活的各个角落。其中,Agent AI智能体作为AI领域的一个重要分支,以其独特的自主性和适应性,成为了人们关注的焦点。本文将深入探讨Agent AI智能体在未来如何通过机器学习、深度学习等技术实现自我优化和知识积累,以及这一过程中可能带来的挑战和机遇。
一、Agent AI智能体的基本概念
Agent AI智能体是一种具备自主决策、学习和适应能力的智能系统。它们能够感知环境、分析信息、制定计划并执行任务。Agent AI智能体的应用范围广泛,包括自动驾驶、智能家居、医疗诊断、金融服务等多个领域。
二、Agent AI智能体的技术进步
2.1 机器学习技术
机器学习是Agent AI智能体实现自我优化的关键技术之一。通过机器学习,智能体可以从大量的数据中提取有用信息,不断优化自身的决策和行为。随着深度学习、强化学习等技术的不断发展,Agent AI智能体的学习速度和效果将得到显著提升。
(1)深度学习:深度学习技术通过模拟人脑神经网络的工作原理,使Agent AI智能体能够处理更加复杂、抽象的信息。通过深度学习,智能体可以更好地理解环境、预测未来,并据此制定更加合理的决策。
(2)强化学习:强化学习是一种通过试错来进行学习的技术。Agent AI智能体在与环境的互动中,不断尝试新的策略,并根据结果调整自己的行为。强化学习使智能体能够逐渐适应环境、优化性能。
2.2 自适应技术
自适应技术使Agent AI智能体能够在不同的环境中自我调整和优化。智能体可以根据环境的变化,自动调整自身的参数和策略,以适应新的环境需求。这种自适应能力使智能体在复杂的现实世界中具有更强的生存能力和竞争力。
2.3 分布式计算与云计算
随着分布式计算和云计算技术的发展,Agent AI智能体可以充分利用这些资源来提高自己的计算能力和数据处理能力。通过分布式计算,智能体可以并行处理大量数据,加快学习速度;通过云计算,智能体可以随时随地访问云端资源,实现远程学习和协作。
三、Agent AI智能体的知识积累
3.1 知识图谱
知识图谱是一种将现实世界中的实体、概念及其关系以图形化的方式表示出来的数据结构。Agent AI智能体可以通过构建知识图谱来积累知识,形成自己的知识体系。知识图谱不仅可以帮助智能体更好地理解环境,还可以为智能体的决策提供有力支持。
3.2 迁移学习
迁移学习是一种将在一个任务中学到的知识应用到另一个任务中的技术。Agent AI智能体可以利用迁移学习来积累不同领域的知识和经验,提高自己的泛化能力。通过迁移学习,智能体可以在新的环境中更快地适应和学习,降低学习成本。
四、Agent AI智能体的挑战与机遇
4.1 挑战
(1)数据隐私与安全:Agent AI智能体在收集和使用数据时,需要确保数据的隐私和安全。随着智能体的应用范围不断扩大,数据隐私和安全问题将变得更加突出。
(2)可解释性问题:Agent AI智能体的决策过程往往难以被人类理解和解释。这可能导致人们对智能体的信任度降低,甚至产生恐惧心理。因此,我们需要研究如何提高智能体决策的可解释性。
4.2 机遇
(1)提高生产效率:Agent AI智能体可以自动化地完成许多繁琐、重复的工作,提高生产效率。这将有助于企业降低成本、提高竞争力。
(2)改善生活质量:Agent AI智能体可以为我们提供更加便捷、智能的生活服务。例如,智能家居系统可以根据我们的生活习惯自动调节室内温度、照明等环境参数,提高我们的生活质量。
(3)推动社会发展:Agent AI智能体在医疗、教育、金融等领域的应用将推动社会的发展和进步。通过智能体技术,我们可以更好地解决人类面临的问题和挑战。
小结
Agent AI智能体作为人工智能领域的一个重要分支,在未来将发挥越来越重要的作用。通过技术进步和创新,智能体将不断实现自我优化和知识积累,为人类社会的发展和进步做出更大的贡献。同时,我们也需要关注智能体技术带来的挑战和问题,积极寻求解决方案,确保智能体技术的健康发展。