简单的网站多少钱网站安全防护措施
一、应用场景
python项目连接MySQL数据库时,需要第三方库的支持。这篇文章使用的是PyMySQL库,适用于python3.x。
二、安装
pip install PyMySQL
三、使用方法
- 导入模块
import pymysql
- 连接数据库
db = pymysql.connect(host='localhost',user='code_space',password='code_space_pw',database='demo_db')
- 创建游标对象
cursor = db.cursor()
# 或者
cursor = db.cursor(pymysql.cursors.DictCursor)# cursor()不加参数的话,查询结果返回的是元组,pymysql.cursors.DictCursor返回的是字典
- 执行sql语句
# 查询
select_sql = " select id,name from user_info "
cursor.execute(select_sql)# 使用 fetchone() 方法获取单条数据
data = cursor.fetchone()# 使用 fetchall() 方法获取所有数据
data_list = cursor.fetchall()
# 增删改,这里只演示更新,其它类似
update_sql = " update user_info set name='头条号_code_space' where id = 1 "
cursor.execute(update_sql)
# 提交,执行更新
db.commit()
- 关闭数据库连接
cursor.close()
db.close()
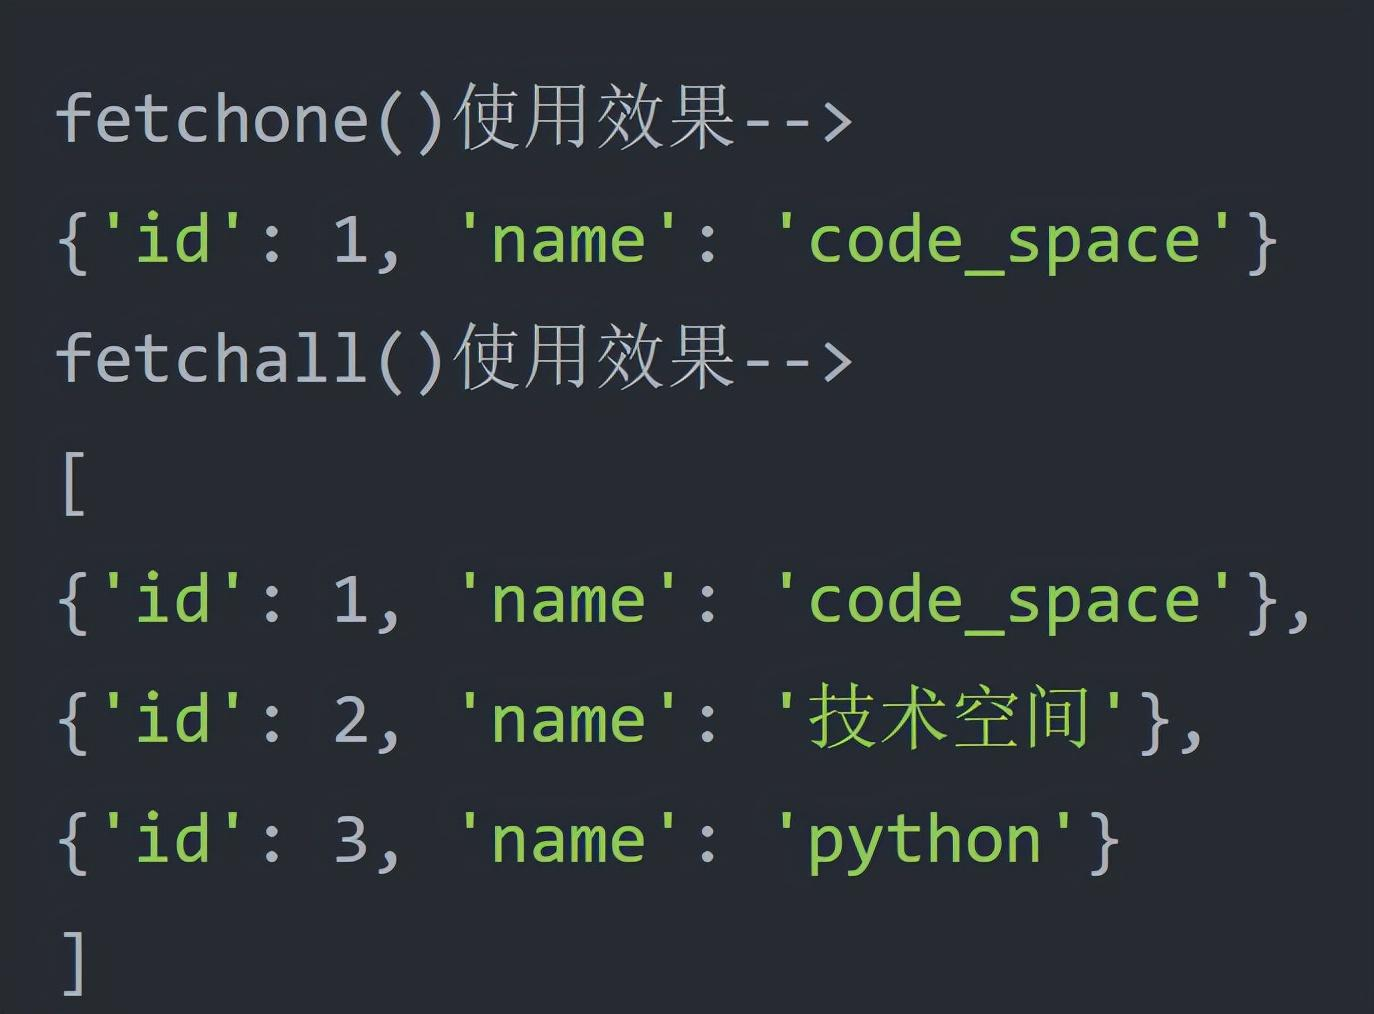
四、测试demo
# -*- coding: utf-8 -*-
import pymysqlif __name__ == '__main__':db = pymysql.connect(host='localhost',user='root',password='root',database='others')# cursor()不加参数的话,查询结果返回的是元组,pymysql.cursors.DictCursor返回的是字典cursor = db.cursor(pymysql.cursors.DictCursor)# 查询select_sql = " select id,name from user_info "cursor.execute(select_sql)# 使用 fetchone() 方法获取单条数据data = cursor.fetchone()print("fetchone()使用效果-->")print(data)# 使用 fetchall() 方法获取所有数据cursor.execute(select_sql)data_list = cursor.fetchall()print("fetchall()使用效果-->")print(data_list)# 增删改,这里只演示更新,其它类似update_sql = " update user_info set name='头条号_code_space' where id = 1 "cursor.execute(update_sql)# 提交,执行更新db.commit()cursor.close()db.close()