邵阳县网站建设公司沙河网站建设公司易烊千玺个人网站
一 QT中时间和日期
- 时间 ---- QTime
- 日期 ---- QDate
对于Qt而言,在实际的开发过程中,
1)开发者可能知道所要使用的类 ---- >帮助手册 —>索引 -->直接输入类名进行查找
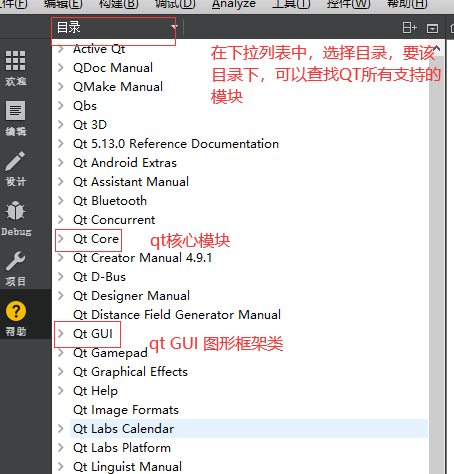
2)开发者可能不知道所要使用的类,只知道开发需求文档 ----> 帮助 手册,按下图操作:
1 QTime
头文件:#include <QTime>
模块:在项目的pro文件中,查看是否包含模块:QT += core
对于QTime对象,主要包括时 分 秒 毫秒,数字时间,一个主要的功能就是,用户可以自己设置一个时间(时 分 秒 ),然后可以给这个时间来设置毫秒数,从而达到时间可以正常运行。
创建时间的对象的方式有两种:构造函数----- 指定一个时间
通过静态成员函数—currentTime() — 获得当前操作系统的本地时间
功能:
1)直接获取操作系统的时间
[static] QTime QTime: