企业建网站的费用网站建设上海公司
时序预测 | Python实现ARIMA-LSTM自回归移动差分模型结合长短期记忆神经网络时间序列预测
目录
- 时序预测 | Python实现ARIMA-LSTM自回归移动差分模型结合长短期记忆神经网络时间序列预测
- 预测效果
- 基本介绍
- 程序设计
- 参考资料
预测效果
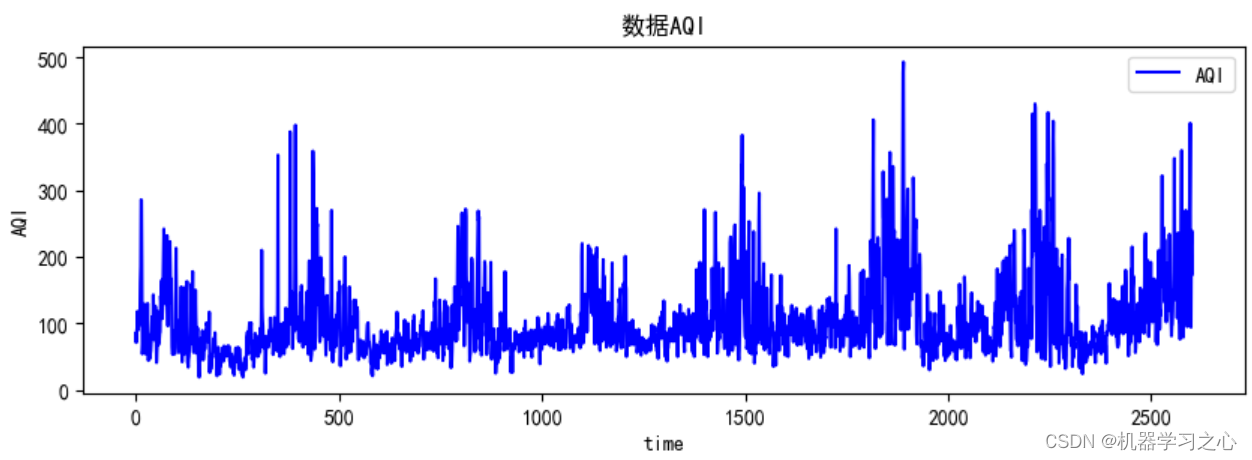
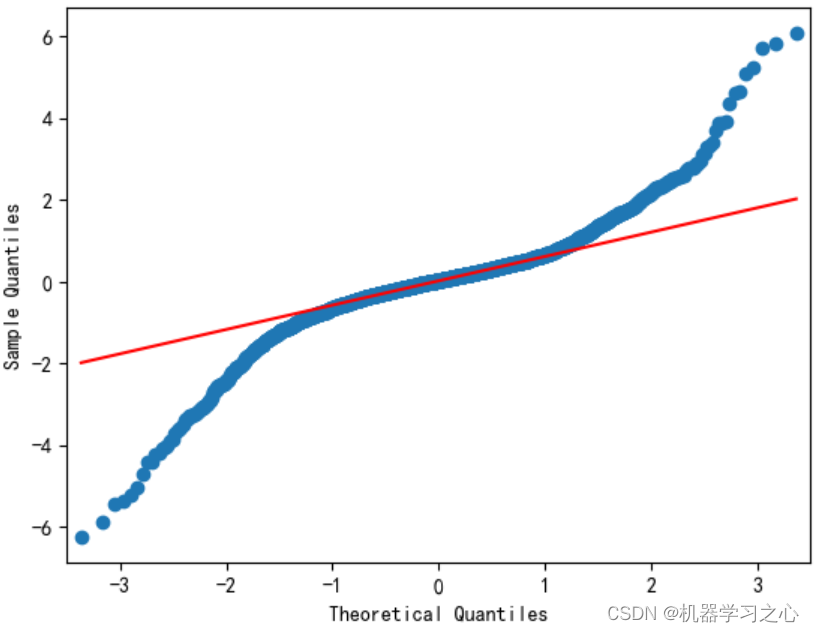

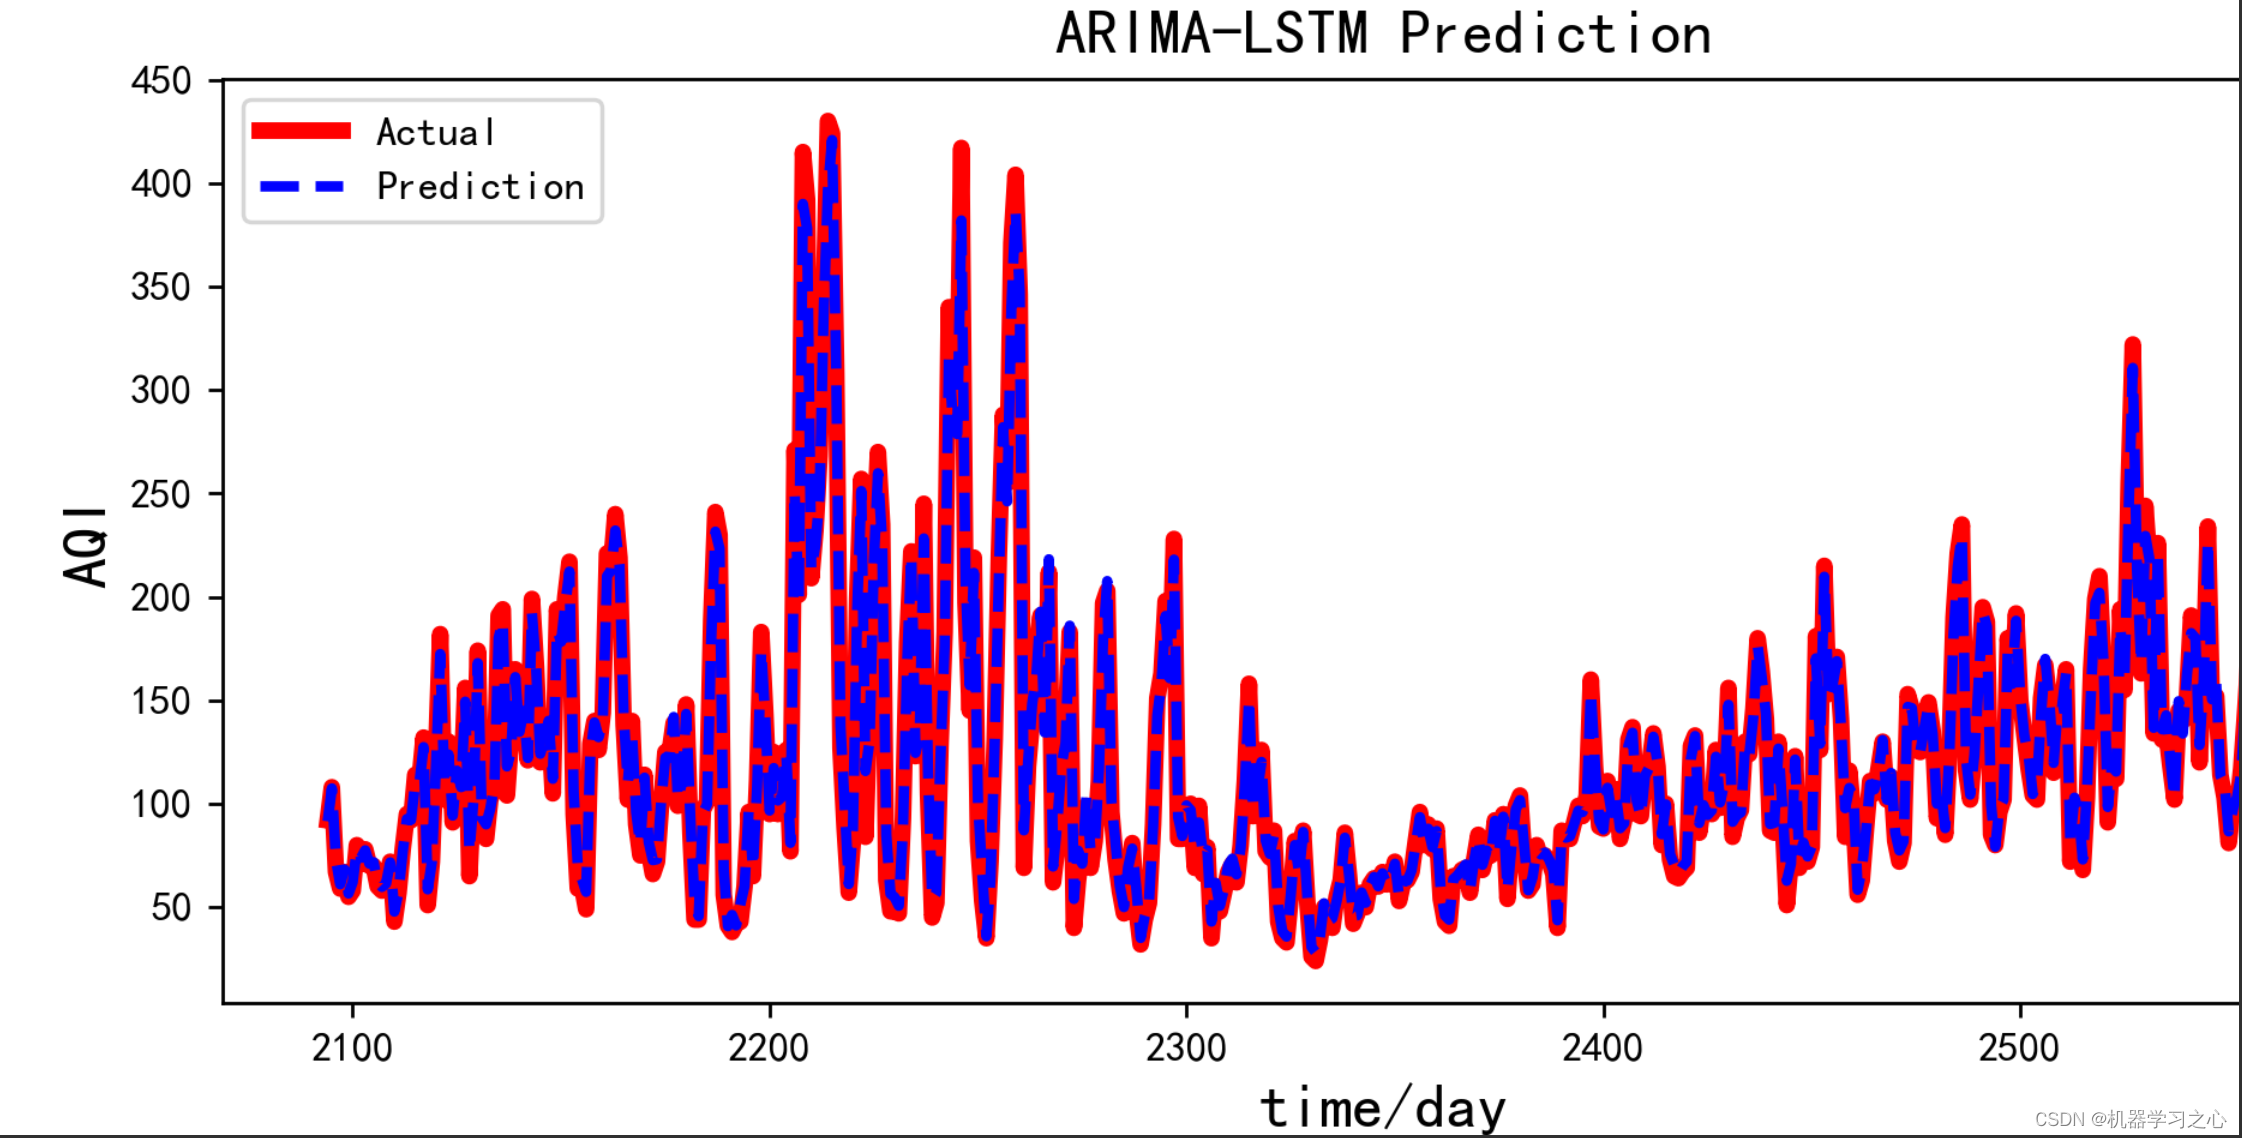
基本介绍
时序预测 | Python实现ARIMA-LSTM自回归移动差分模型结合长短期记忆神经网络时间序列预测
直接替换数据即可用 适合新手小白
附赠案例数据 可直接运行
程序设计
- 完整程序和数据下载方式私信博主回复:Python实现ARIMA-LSTM自回归移动差分模型结合长短期记忆神经网络时间序列预测。
import itertools
import math
import numpy as np
import pandas as pd
import matplotlib.pyplot as plt
from numpy import concatenate
from pandas import concat, DataFramefrom statsmodels.tsa.arima_model import ARIMA
from sklearn.metrics import mean_squared_error, mean_absolute_error, r2_score
from sklearn.preprocessing import MinMaxScaler
from tensorflow.python.keras import Sequential
from tensorflow.python.keras.layers import LSTM, Dropout, Densefrom statsmodels.tsa.stattools import adfuller
from statsmodels.stats.diagnostic import acorr_ljungbox
from statsmodels.graphics.tsaplots import plot_acf, plot_pacf
import seaborn as snsfrom statsmodels.graphics.api import qqplot
import statsmodels.tsa.stattools as st
import statsmodels.api as sm
import statsmodels.formula.api as smf
import statsmodels.tsa.api as smtimport matplotlib
import warnings
import statsmodels
from scipy import  stats
import tensorflow as tf
参考资料
[1] https://blog.csdn.net/article/details/126072792?spm=1001.2014.3001.5502
[2] https://blog.csdn.net/article/details/126044265?spm=1001.2014.3001.5502