广西工程建设质量安全管理协会网站制作相片的免费软件
WebSocket 是一个支持双向通信的网络协议,它在实时性和效率方面具有很大的优势。Postman 是一个流行的 API 开发工具,它提供了许多功能来测试和调试 RESTful API 接口,最新的版本也支持 WebSocket 接口的调试。想要学习更多关于 Postman 的知识,可访问 Postman 中文文档。在本文中,我们将介绍如何使用 Postman 调试 WebSocket 接口。
步骤
- 打开 Postman ,点击左上角的 New 按钮,选择创建一个新的 WebSocket 请求。
- 输入 WebSocket 接口的 URL 地址,点击 Connect 按钮。
- 在 Message 中输入需要发送的数据,点击 Send 按钮。
- 如果一切正常,您将在下方的时间线中看到响应数据。
示例
以下是一个示例 WebSocket 接口的调试过程:
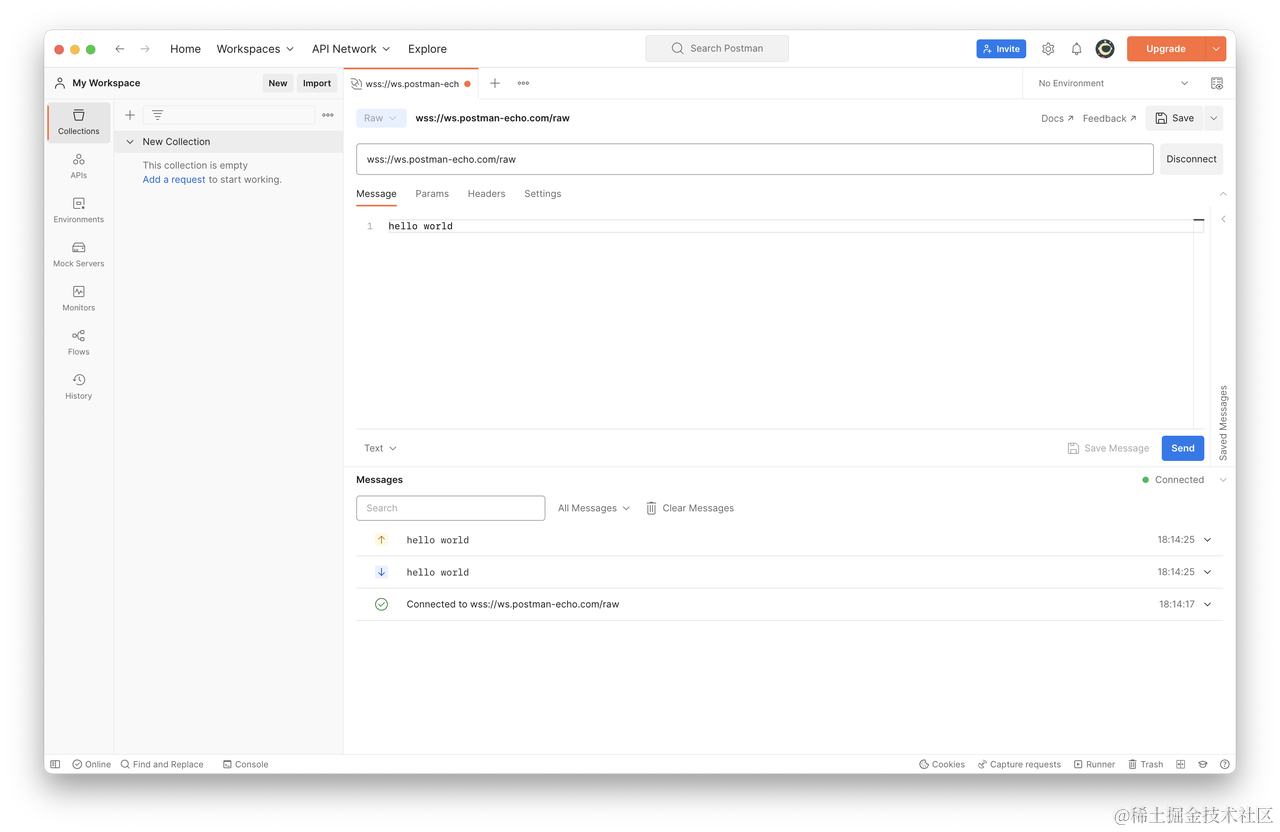
在这个例子中,我们向接口发送了一条内容为 hello world 的消息,然后服务器返回了一条相同内容的消息。
其他方式
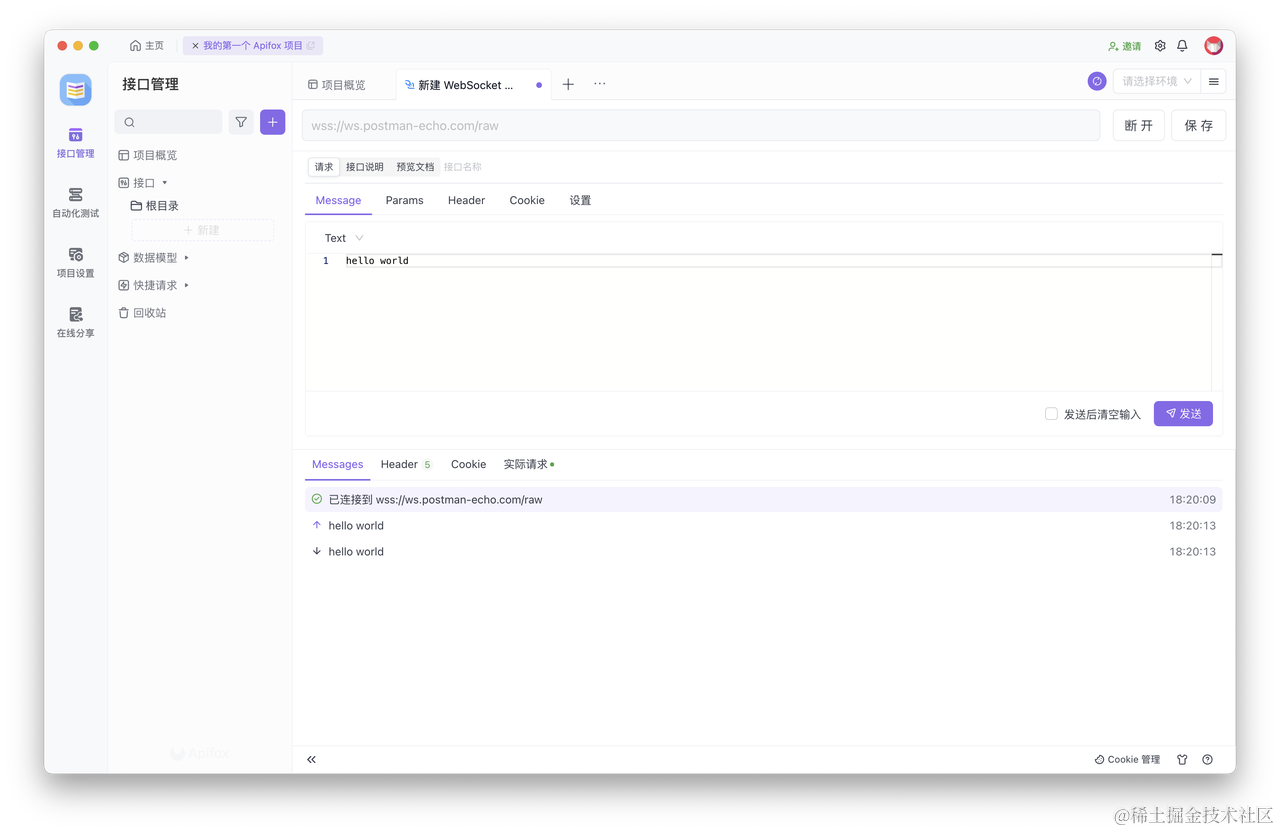
以上,我们介绍了如何使用 Postman 调试 WebSocket 接口。那么,还有其他工具同样也可以调试 WebSocket 接口,方法也更高效一些,例如:Apifox。
相比于 Postman,Apifox 使用中文界面,上手更加容易。调试 WebSocket 接口的步骤,也与 Postman 相同。此外,Apifox 还支持使用 Markdown 格式来为 WebSocket 接口撰写说明文档,文档可以在线分享给同事,协作起来更加方便、高效。
俩个都是非常棒的接口工具,感兴趣的可以都去体验一下。
知识扩展:
- WebSocket 和 Socket.IO 有什么区别?一文讲述它们之间的差异
- 如何使用 Postman 调用 Dubbo 服务